 This is a small post for the purpose of showing how to work with TRANSITIONS in Windows Live Movie Maker. The questions come up from time to time and I've seen others do some posts on it, but I wanted to do my own.
Applying transitions is fairly easy, but those who have never done video editing before; this is an easy way to review it.
This set of information assumes you can import your videos in to Windows Live Movie Maker 2011 to be edited. Not being able to import your videos will prevent you from apply transitions to them, as Windows Live Movie Maker wouldn't be able to decipher them anyway.
Basic Transition effects…
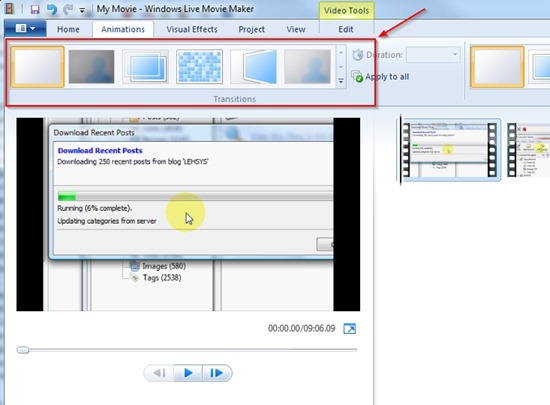
With the first video clip or CAPTION page you don't get some options for transition, because it's the first clip; if you have additional clips you'll have more options on the next video clip.
But to apply a transition, double-click on the video you want to apply the effect…
If you have a video clip selected, simply moving your mouse over that transition will give you an example of what it'll look like in the PREVIEW window. So you don't have to apply the effects to see what it's going to look like later… it's a nice feature.
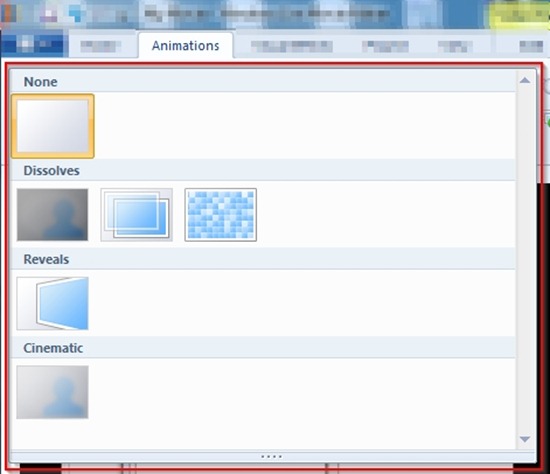
Available Transitions are sown below.
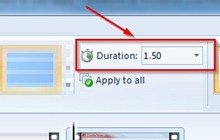
The durations [how long] of the transitions can be adjusted with the DURATION option/setting…
The duration option only becomes available only after a transition has been applied to a video clip…
And now for MORE transition effects…
For the all of the rest of the video clips you'll have more options, focusing more on transitional effects going from one clip to another. Again, simply moving your mouse over that transition will give you an example of what it'll look like in the PREVIEW window.
Where the effects are applied… from a story board perspcetive.

Take notice, the transitions are applied to the inception of each video clip. You can't put a transition on the front and back of a video clip; it has to be in line with another clip.
It's probably a good practice to have a TITLE and a CREDITS page in your videos to be able to FADE IN and OUT for your videos; it's just a nicer effect and cleaner.
That's it!
I hope this helps...
Thank you,
Larry Henry Jr.
LEHSYS.com


iDealshare VideoGo can easily convert any Windows Movie Maker exported WMV file to MP4 file, AVI file, FLV file, MKV file, etc for compatible uploading or playback purpose.https://www.idealshare.net/video-converter/convert-windows-movie-maker-to-mp4.html
ReplyDelete